
Repairs
Water in the cabinet and where it is coming from
Water in a sink cabinet has four usual sources, and you can narrow it to two before anyone opens a toolbox. The test takes five minutes and needs nothing more than a dry paper towel and a torch.
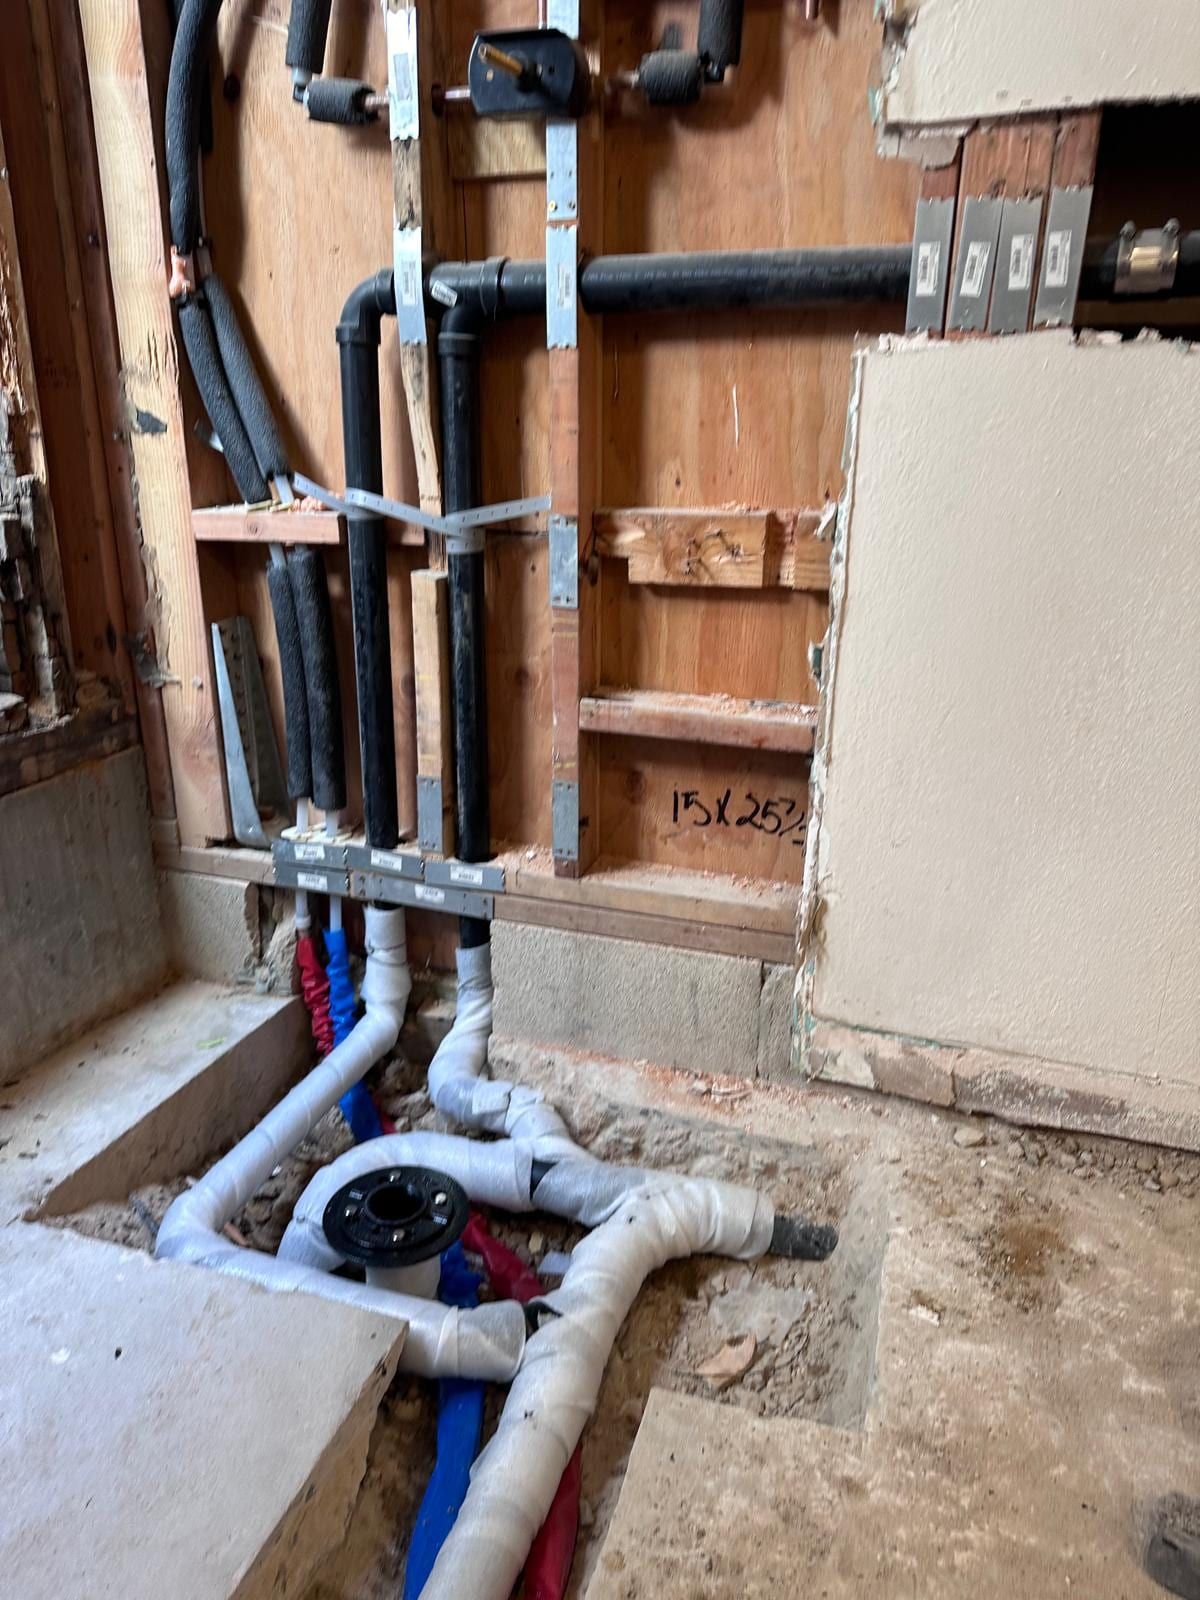
Dry the cabinet completely, lay a sheet of paper towel under each joint, then use the sink in stages. If water appears with nothing running, the leak is on the pressurised supply side and it will not stop on its own. If the cabinet stays dry until you fill the bowl and pull the plug, it is a drain leak, and drains only leak while water is passing through them. That single test cuts four possible causes down to two.
The two families behave differently. Supply leaks get worse quickly because the pipe behind them is under constant pressure. Drain leaks are slower but do more hidden damage, since the water runs down the back of the cabinet and into the base where nobody looks until the particleboard swells and the doors stop closing straight.
Cause one: the angle stop and its riser
The supply side under a sink is a short chain: a valve on the wall stub, a compression nut, a braided or chrome riser, and a nut at the faucet shank. Any of the four can be the leak. On older chrome risers the rubber cone inside the end nut hardens and stops sealing against the faucet inlet. On compression joints the ferrule can be cut or the nut backed off by someone stacking cleaning bottles against it. And the valve itself can weep at the stem while still holding water back, which is a packing fault rather than a valve failure. If the valve is the part at fault, our separate article on shut-off valves covers what can be adjusted and what has to be swapped.
Cause two: the slip joints on the trap
The P-trap and its arm are held together with slip nuts and tapered washers, and those joints are designed to be watertight without being tight. A washer fitted the wrong way round, a tube that is not square in the socket, or a plastic nut cranked down with pliers until the thread crazes will all drip at the same rate. So will a trap that has been pulled sideways by a disposal or a new deeper sink bowl, because the arm no longer sits straight in the wall stub. Look at the escutcheon where the arm enters the wall as well. A leak there is often mistaken for a trap leak and is a different repair.
Cause three: the strainer basket or the disposal flange
The strainer that clamps into the sink hole is sealed with plumber’s putty or a gasket, and after twenty years that seal dries out and shrinks. Water then gets under the flange when the bowl is filled, tracks down the outside of the tailpiece and appears halfway down, which makes it look like a trap problem. A garbage disposal is the same failure with more weight hanging off it, and the mounting gasket takes the strain every time the unit shudders. A leak from the seam of the disposal body itself is not a repair. That housing is sealed at the factory and the unit is replaced.
How to tell a strainer leak from a trap leak
Wipe every joint dry, then fill the bowl and let it stand full without pulling the plug. Nothing is moving through the trap, so anything wet in the next few minutes is coming from the strainer or the flange. Shine a torch straight up at the underside of the sink deck while the bowl is full and look for a bead forming at the flange rim.
Cause four: the faucet body, not the pipes
Water on the cabinet deck directly under the faucet shanks usually came from above. A worn cartridge can let water past into the body and down the shank instead of out of the spout. A pull-out sprayer hose can chafe where it rubs the mounting nut, or leak at its quick connect, and it only shows when the sprayer is used. And a failed seal around the faucet base lets sink water run through the deck holes every time someone rinses the counter into the bowl. Dry the shanks, wrap a paper towel around them, and run the faucet and the sprayer separately.
Things that look like leaks and are not
What the cabinet floor tells you about how long it has been going
Particleboard swells before it stains, so a base that is soft at the edges and lifting has been wet for weeks rather than days. A dark ring with a defined edge marks where the water stopped and evaporated repeatedly, which points at an intermittent drain leak. Black staining on the back wall and a musty smell mean water has been running down behind the cabinet. Most Costa Mesa homes are slab-on-grade, so water that gets past the cabinet base does not drain away into a crawl space. It spreads sideways under the flooring, and the first sign in the next room is often a lifting plank rather than anything you can see under the sink.
What gets replaced and what gets left alone
A weeping compression connection does not justify a new faucet, and a leaking slip joint does not justify a new trap assembly if the tubing is sound. Those get put right and tested. What does tend to get changed while the cabinet is open is a corroded multi-turn angle stop, because it is the part most likely to strand you next time and everything around it is already accessible. A disposal leaking at its body seam gets replaced because there is nothing inside it to repair. That is the whole decision, and it should be shown to you under the sink rather than described at the door.
One thing to do before anyone arrives
Put a dry paper towel under each joint, draw a marker line around any wet patch you already have, and take a photo ten minutes later. A picture of exactly which towel wetted first and how fast tells a plumber more than any description, and it stops the visit starting with guesswork that you have already done.