
Water heaters
Flushing a tank heater on Costa Mesa groundwater
A tank flush is four moves in the right order: heat off, water off, hose on, tank out. What matters is what you watch while it drains, and knowing the point where opening the drain valve stops being maintenance and starts being a decision.
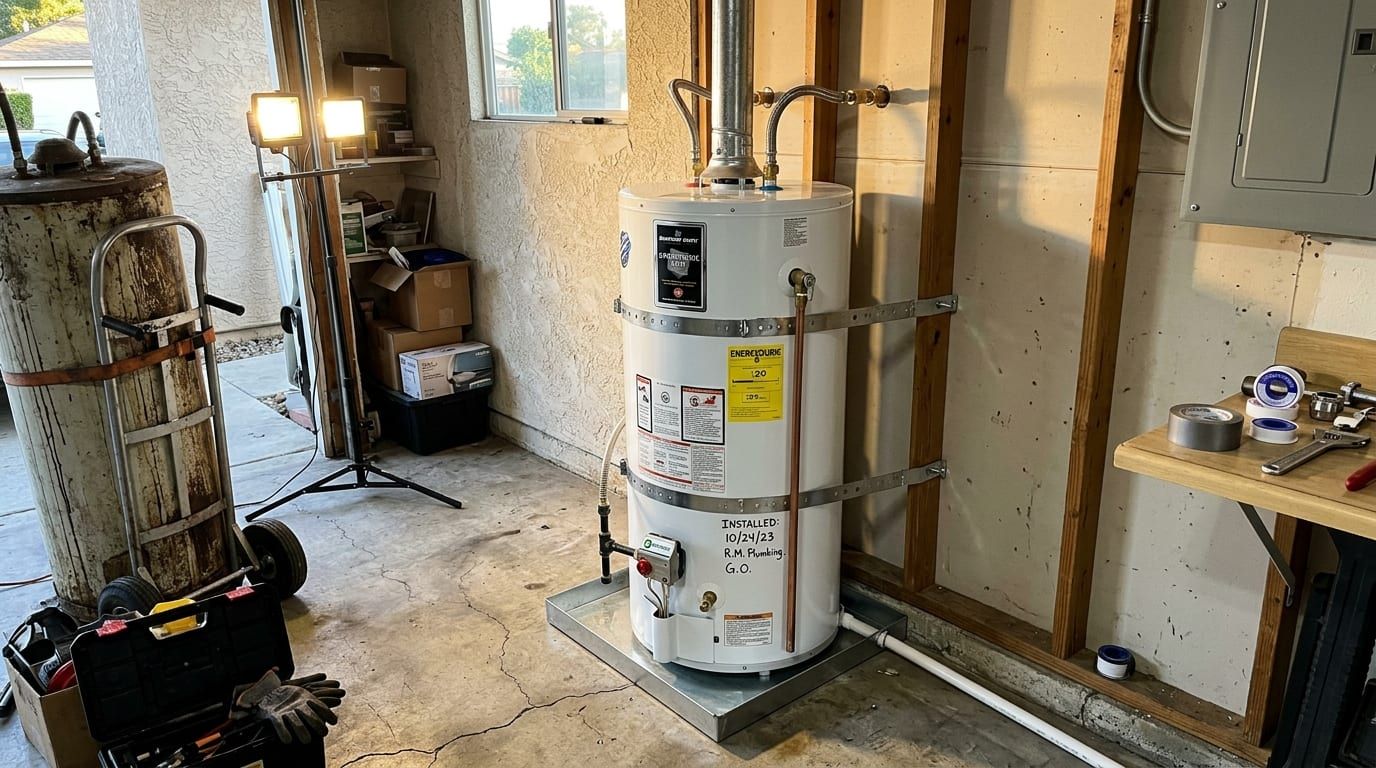
Heat off, water in off, hose on, tank out, in that order. On a gas heater turn the control to pilot or vacation. On an electric one switch the breaker off and leave it off. Close the cold inlet valve on top of the tank. Run a garden hose from the drain valve at the bottom to a driveway or a drain lower than the tank base. Open a hot tap somewhere in the house so air can get in behind the water. Then open the drain valve and let it go. That is the flush. Everything below is what to watch while it drains and when to stop.
Why the bottom of a Costa Mesa tank fills up faster
Mesa Water District supplies most of Costa Mesa entirely from local groundwater, nine wells into the Orange County groundwater basin, across an 18-square-mile service area that also takes in part of Newport Beach and some unincorporated county land including John Wayne Airport. That water comes out of the ground with an amber colour left behind by ancient decomposed redwood, and the colour is removed at the Mesa Water Reliability Facility before it reaches anyone. What treatment does not take out is the mineral that groundwater carries by nature. Heat mineral-bearing water in a steel tank and some of it comes out of solution and settles on the floor.
On a gas heater that settled layer sits directly between the burner and the water it is meant to heat. The burner runs longer to do the same work, the steel above the flame runs hotter than it was designed to, and you get the rumbling or popping sound people describe as the heater talking to itself. On an electric heater the sediment slowly buries the lower element until that element is heating mud instead of water. Neither is an emergency on the day it starts. Both shorten the life of the tank.
What you need before you open a valve
The flush, step by step
Kill the heat before you touch the water
A gas control left on Hot will try to fire against an emptying tank. An electric element left energised will burn out within seconds of the water dropping below it, and it will do so silently, so you will not find out until the hot water goes cold two days later. Set gas to pilot or vacation, or switch the breaker off at the panel and confirm it is the right breaker. Then close the cold inlet on top of the tank and give the water a few minutes to stop moving.
Drain, then stir
A plain drain carries off the loose material and leaves the packed crust where it is. Once the tank has emptied, leave the drain valve open and crack the cold inlet in short bursts. Incoming water enters at the bottom through the dip tube and sweeps across the floor of the tank, lifting what the first drain could not. Do that five or six times, catching each burst in the bucket, until what comes out looks like what goes in. If the hose only ever gives you a trickle, the drain valve itself is plugged with sediment, and forcing it with a wire is how a plastic valve stops sealing forever.
Refill before you relight
Close the drain valve, disconnect nothing yet, and open the cold inlet fully. Go to the hot taps you left open and wait. They will spit and cough while air leaves the system, then settle into a steady stream. Steady stream means the tank is full. Close the taps, then restore gas or power, not before. If the heater is electric and you restore power to a partly full tank you will replace an element you did not need to replace.
What the water in the bucket is telling you
When a flush is the wrong move
A drain valve that has sat untouched for twelve years is a plastic part that has been hot for twelve years. Some of them open and never seal again, which turns a maintenance job into a heater that now has to come out. If your tank is well past a decade, has never been flushed and shows any weeping at the base already, disturbing the crust on the floor can open a path through steel that was thin anyway. The flush did not cause that. It revealed it. We would rather say that to you standing in the garage beforehand than over a wet floor afterwards.
The same caution applies to a heater in an interior closet, upstairs, or anywhere with no floor drain and finished flooring around it. If the space would not survive a tank letting go, the sensible version of this job is one where someone is standing there with the means to shut it down and pull it out the same day.
Tankless heaters get descaled, not flushed
There is no tank floor in a tankless unit, so nothing settles. Instead the mineral plates the inside of the heat exchanger, the narrow passages where the water is actually heated, and the unit reacts by cycling oddly, running cooler, or throwing a flow-related fault. The fix is a descale: close the isolation valves, hook a small pump and a bucket to the service ports, and circulate a descaling solution through the exchanger. On groundwater like Costa Mesa’s this is a yearly job rather than a suggestion. If your tankless unit was installed without isolation valves, adding them is the first thing to sort out, because without them there is no way to service it at all.
How often, and what to look at while you are down there
Once a year is the honest default on this water, and a tank that has gone five years without one will not be rescued by a single flush. While the area around the heater is clear, check the things that only get looked at when something is already wrong.
Write the date on the side of the tank with a marker when you finish. The next person to open that drain valve, whether it is you or one of our vans, will know exactly how long the layer at the bottom has had to build. If the tank is close to the end of its life and you are weighing up what should replace it, the heat pump question is a separate article and a separate set of house requirements.